Jekyll Installation - MacOS
Install Ruby
- Execute the command below to ensure
Rubyis installed.ruby -v
- If your output displays
command not found, then execute the command below to download and install Rubybrew install ruby
- If your output displays
You don't have write permissions for the /Library/Ruby/Gems/2.6.0 directory, then execute the command below to exportGEM_HOMEexport GEM_HOME="$HOME/.gem"
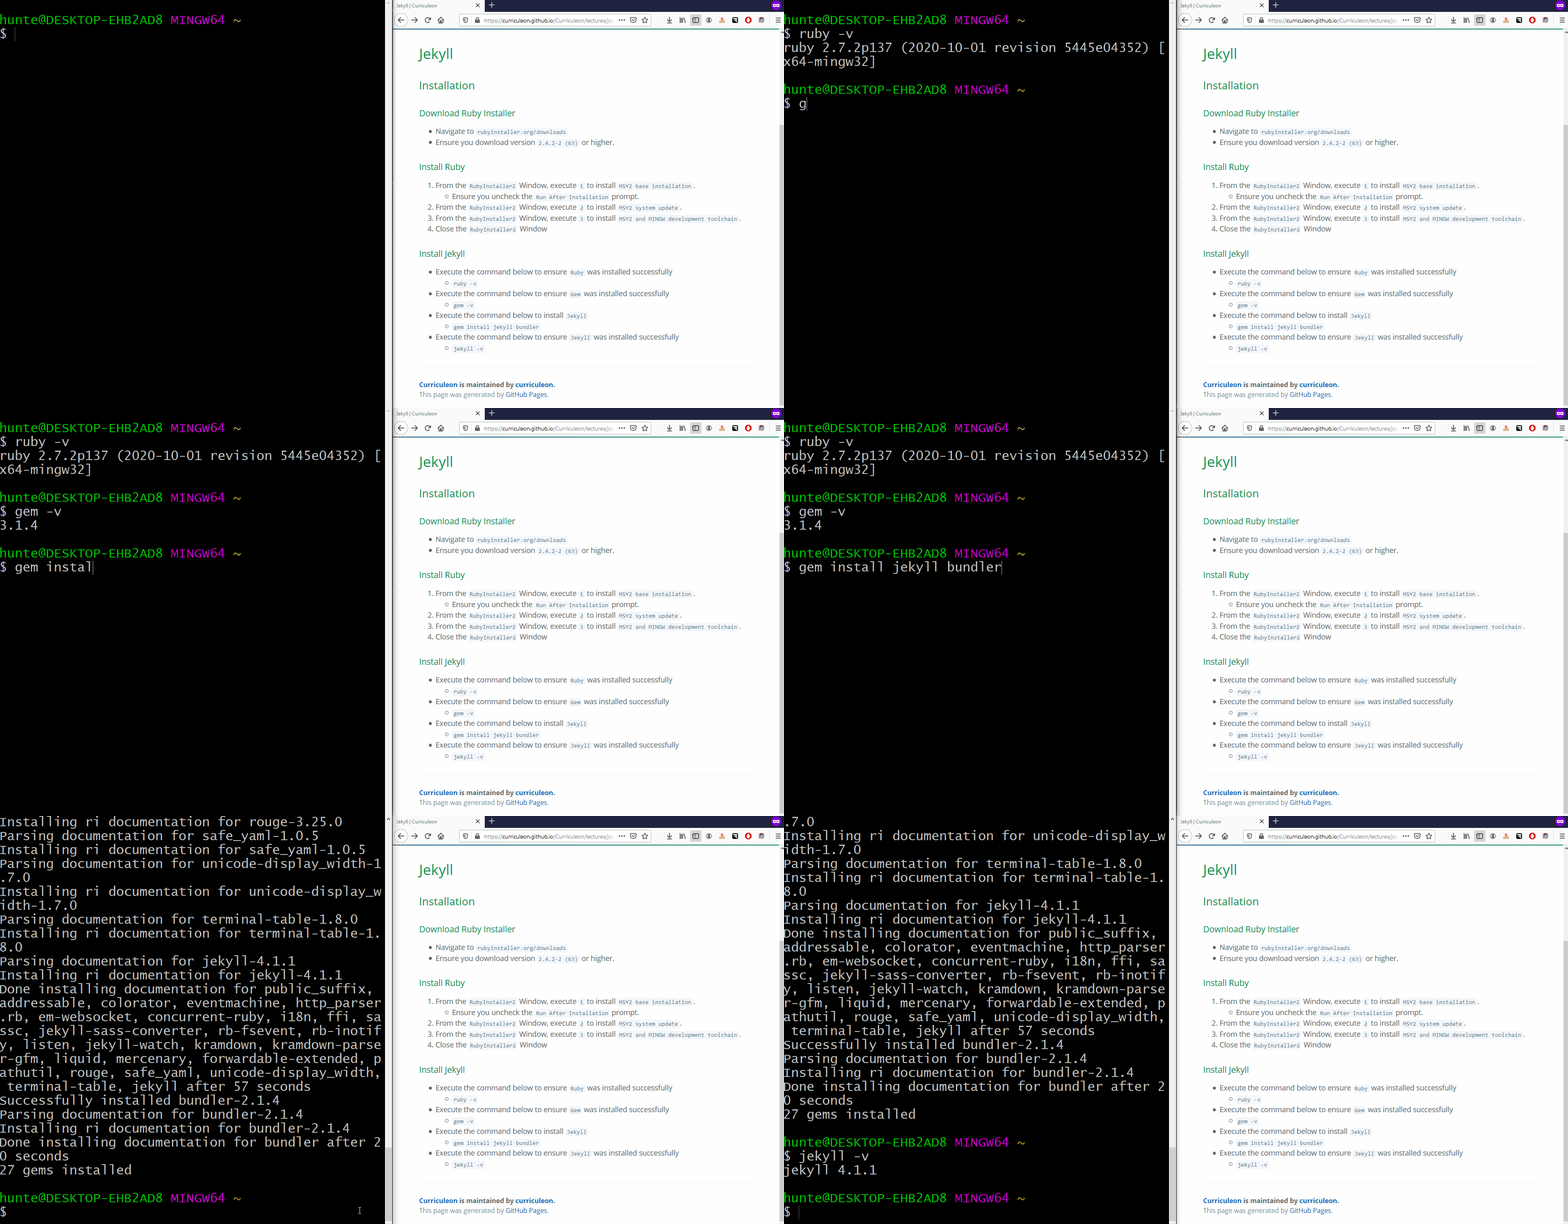
Install Jekyll
- Execute the command below to ensure
Rubyis installed.ruby -v
- Execute the command below to ensure
Gemis installed.gem -v
- Execute the command below to install
Jekyllgem install jekyll bundler
- Execute the command below to ensure
Jekyllwas installed successfullyjekyll -v
Optional: Install rbenv
-
rbenvis used to install a new version ofRubyand thebundlergem: -
Install
rbenvby running the following command in the Terminal:
brew install rbenv
-
Execute the command belolw to add the following line to add an auto-initializer for
rbenvecho eval "$(rbenv init -)" >> ~/.bash_profile echo eval "$(rbenv init -)" >> ~/.zshrc source ~/.bash_profile source ~/.zshrc -
Use
rbenvto install a new version of Ruby. For example, to install Ruby 2.7.2, run the following command:
rbenv install 2.7.2
- Set the global Ruby version to the newly installed version by running the following command:
rbenv global 2.7.2
- Verify that the correct version of Ruby is being used by running the following command:
ruby -v
- Finally, install the bundler gem using the following command:
gem install bundler
- This should install the bundler gem for the newly installed version of Ruby and allow you to use it without needing root privileges.
