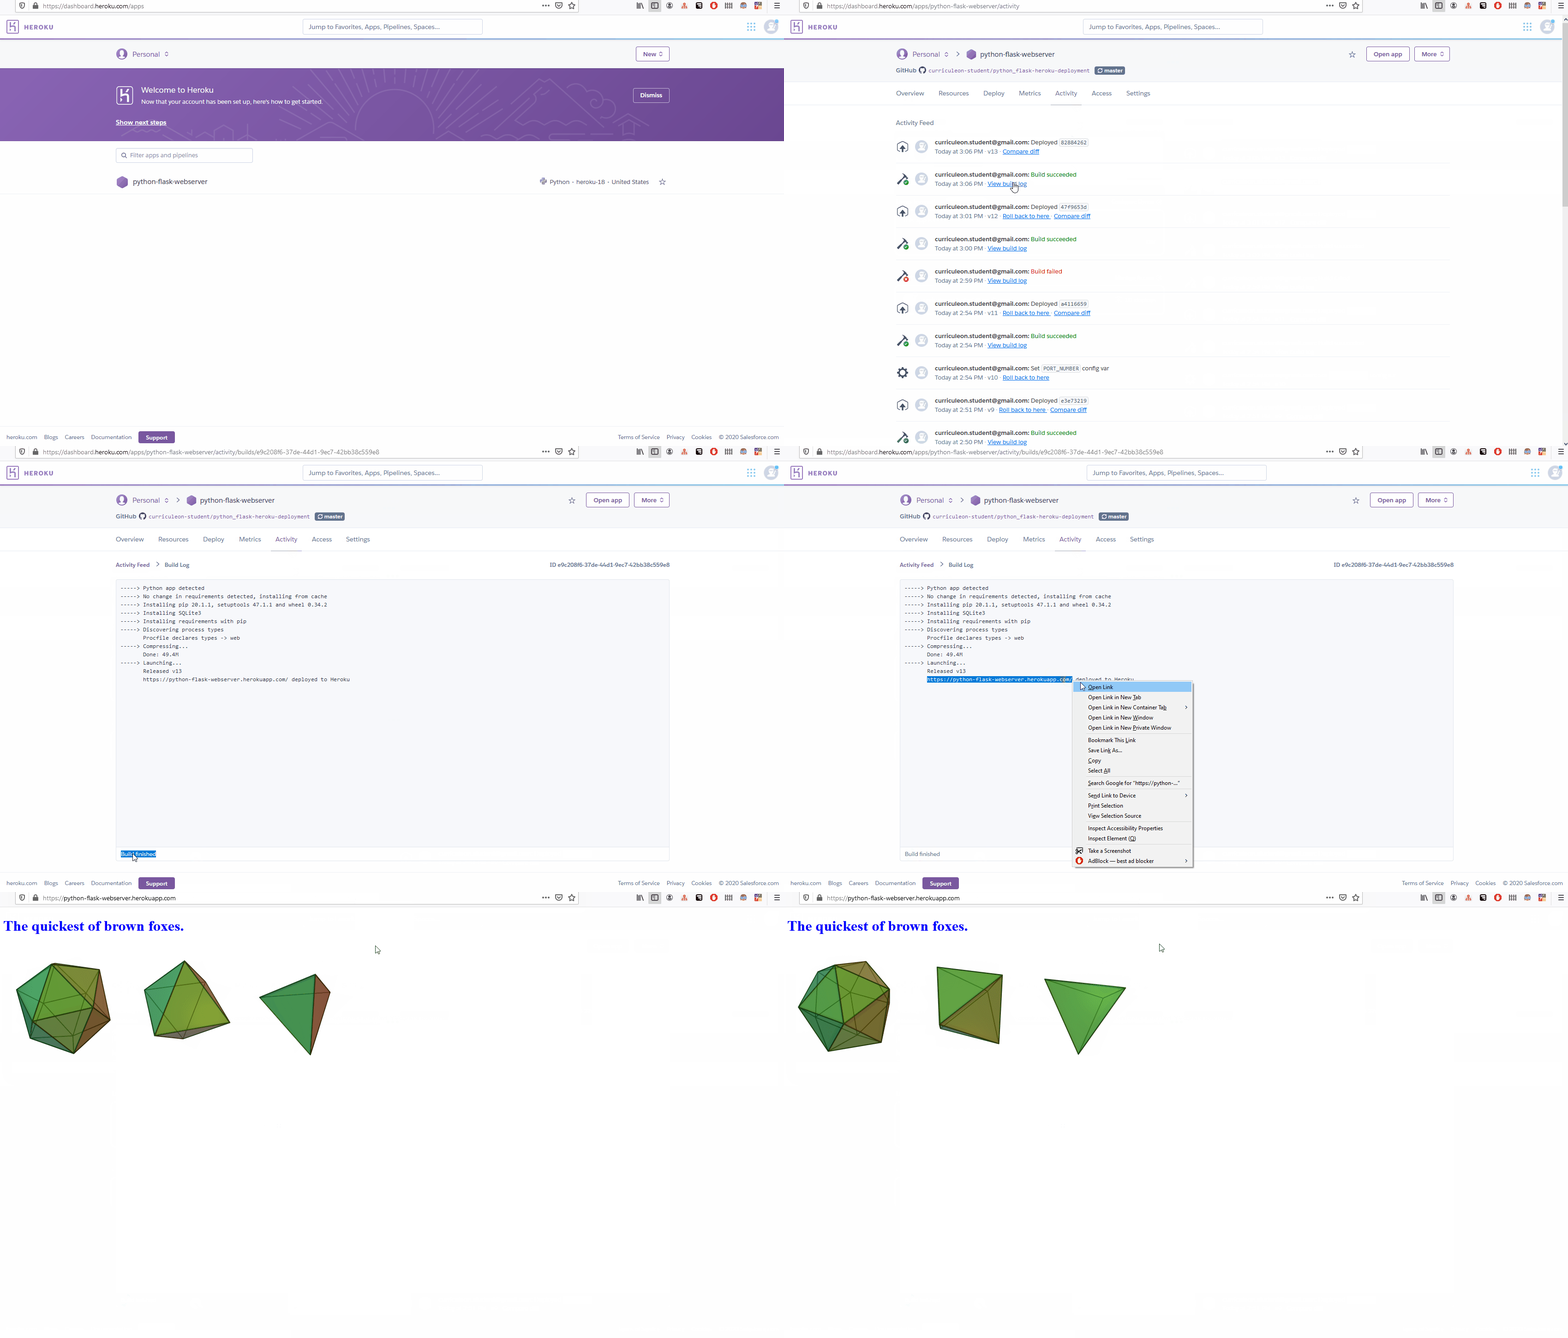
1. Fork Flask WebServer Repository
- Navigate to url to fork the Flask application
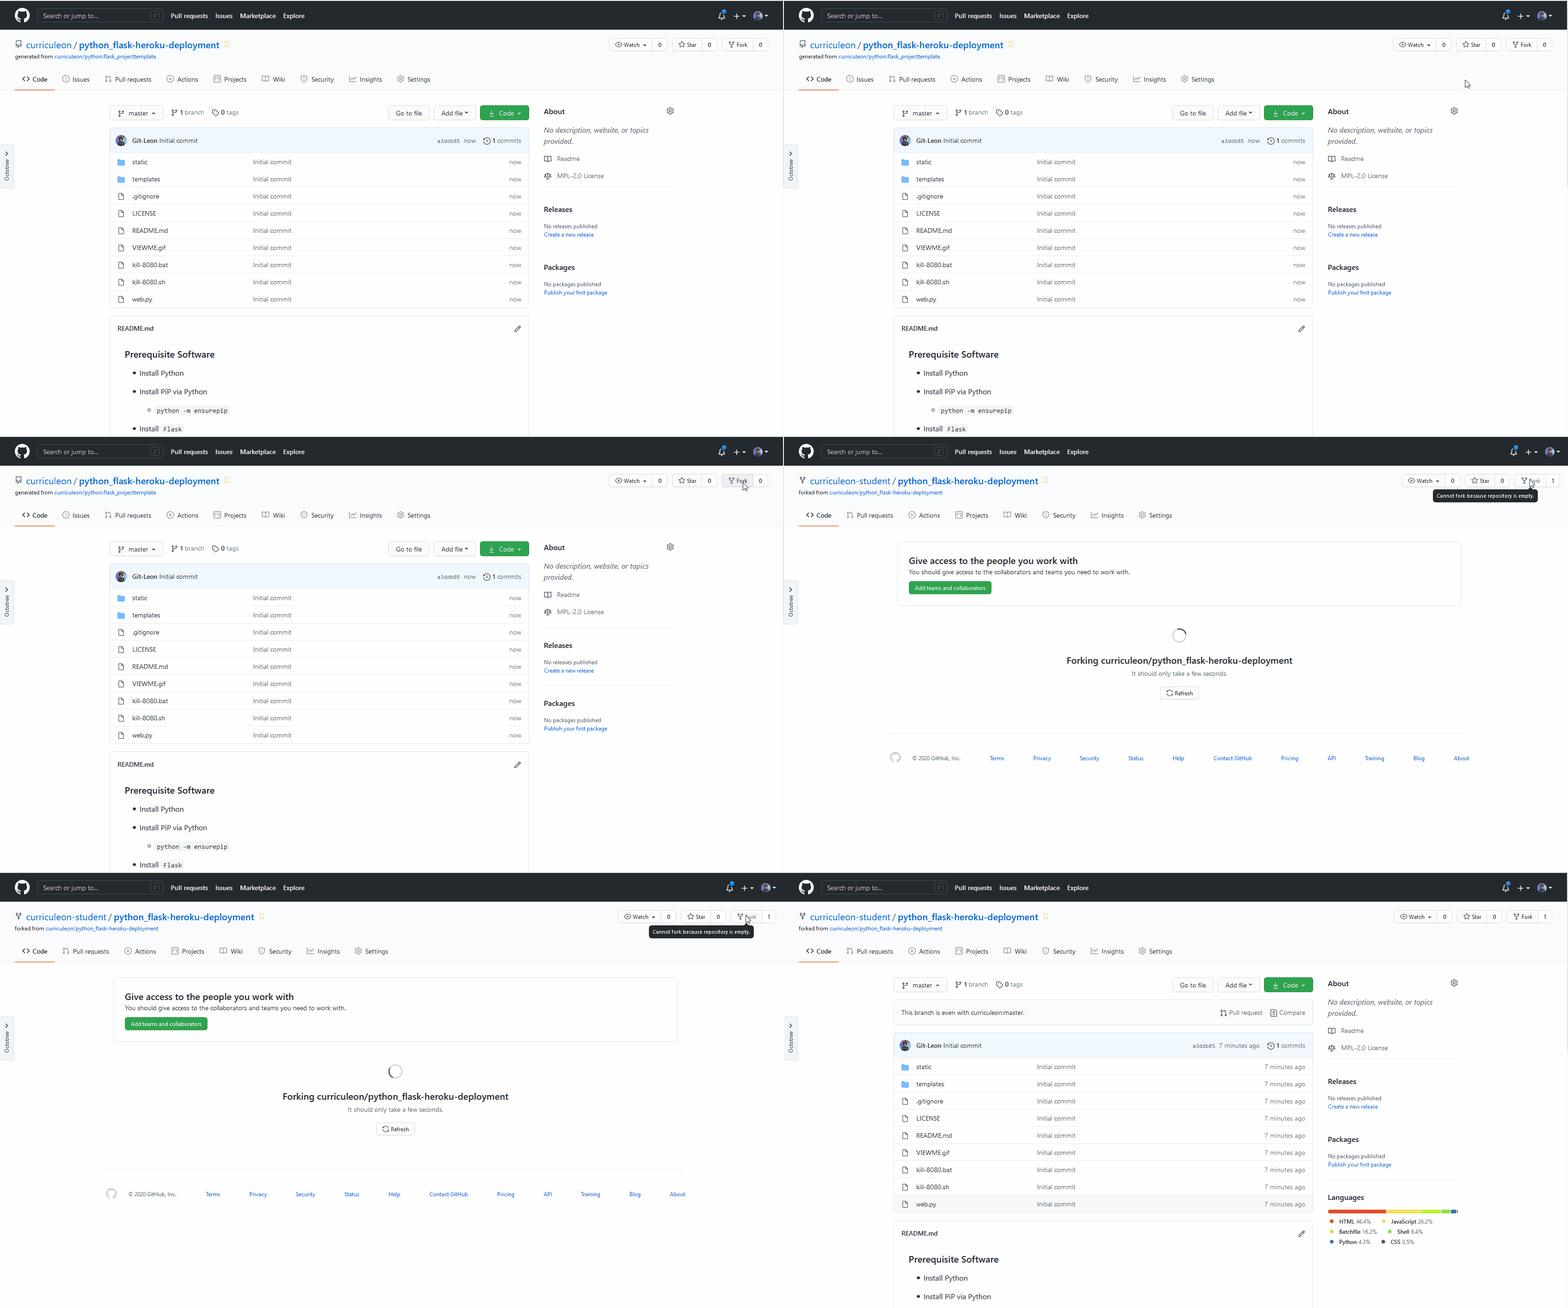
2. Create Heroku Account
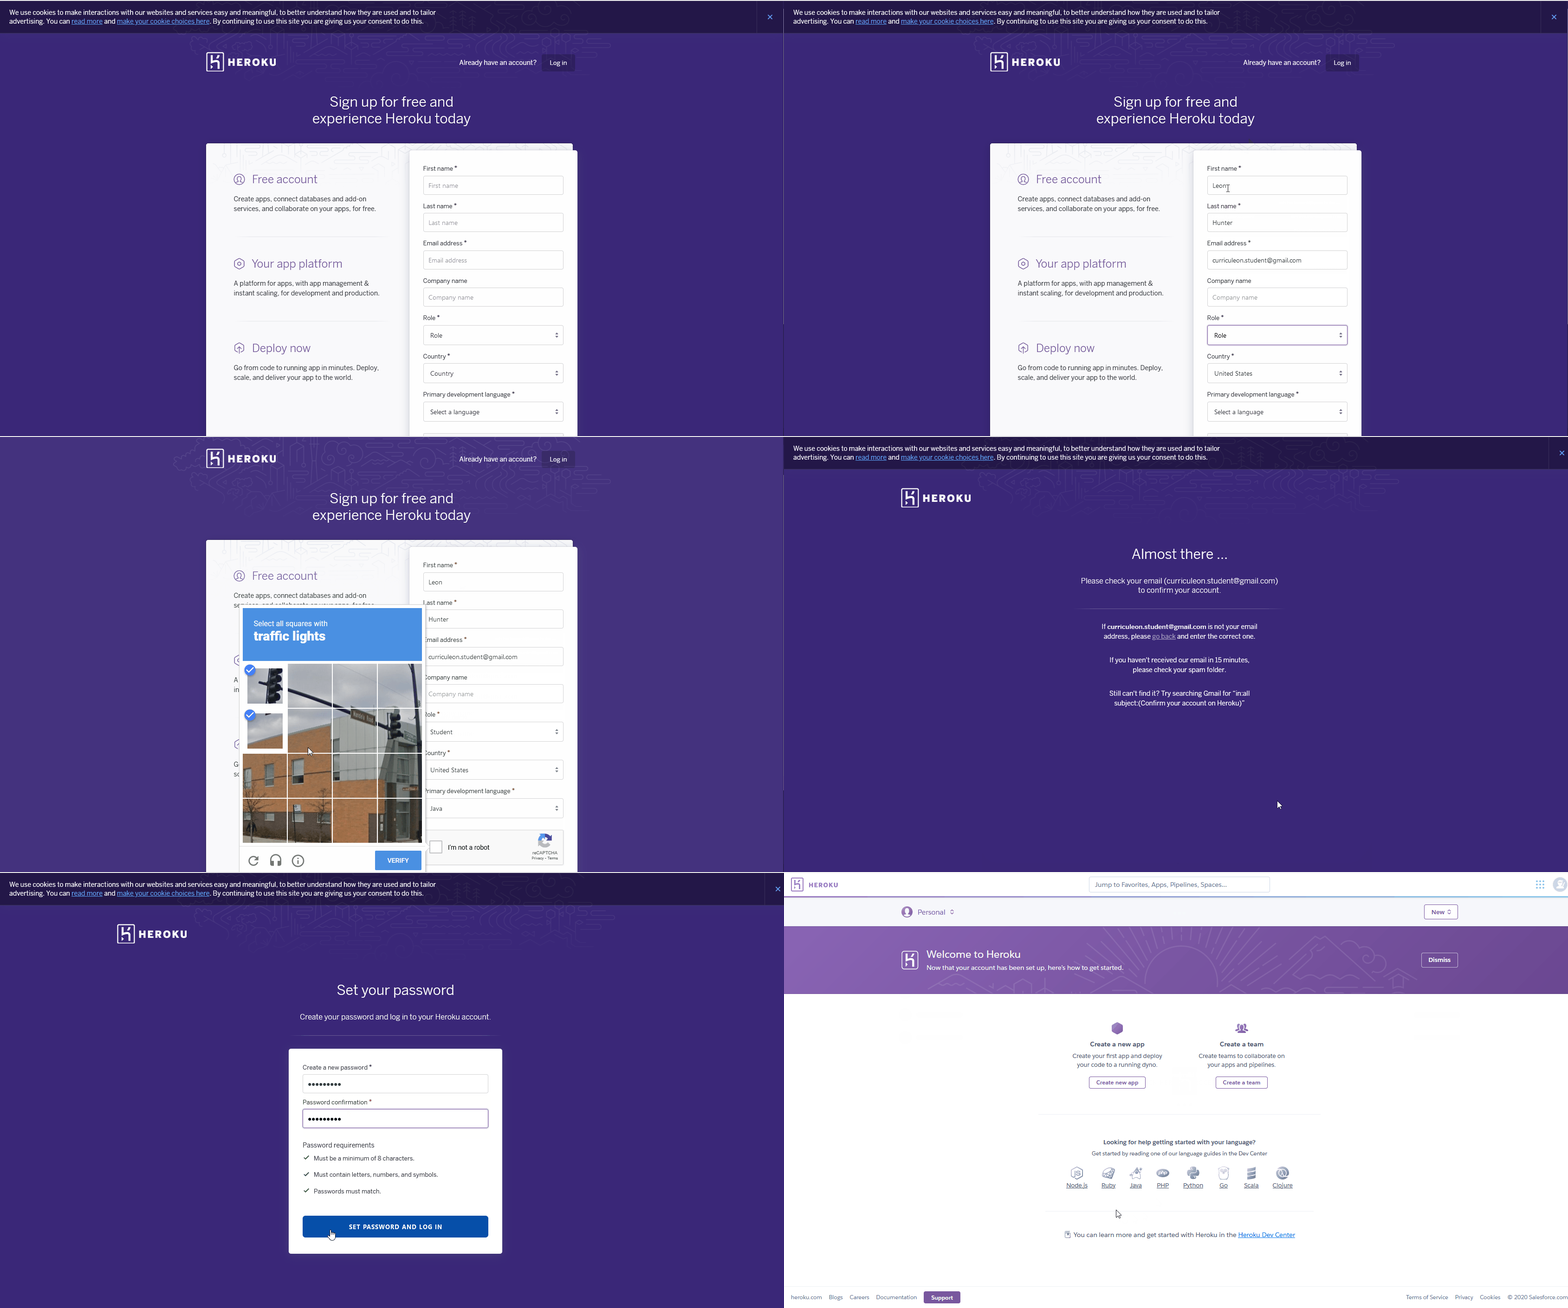
3. Create Heroku Application
- From the Heroku Welcome page, click
Create New Application
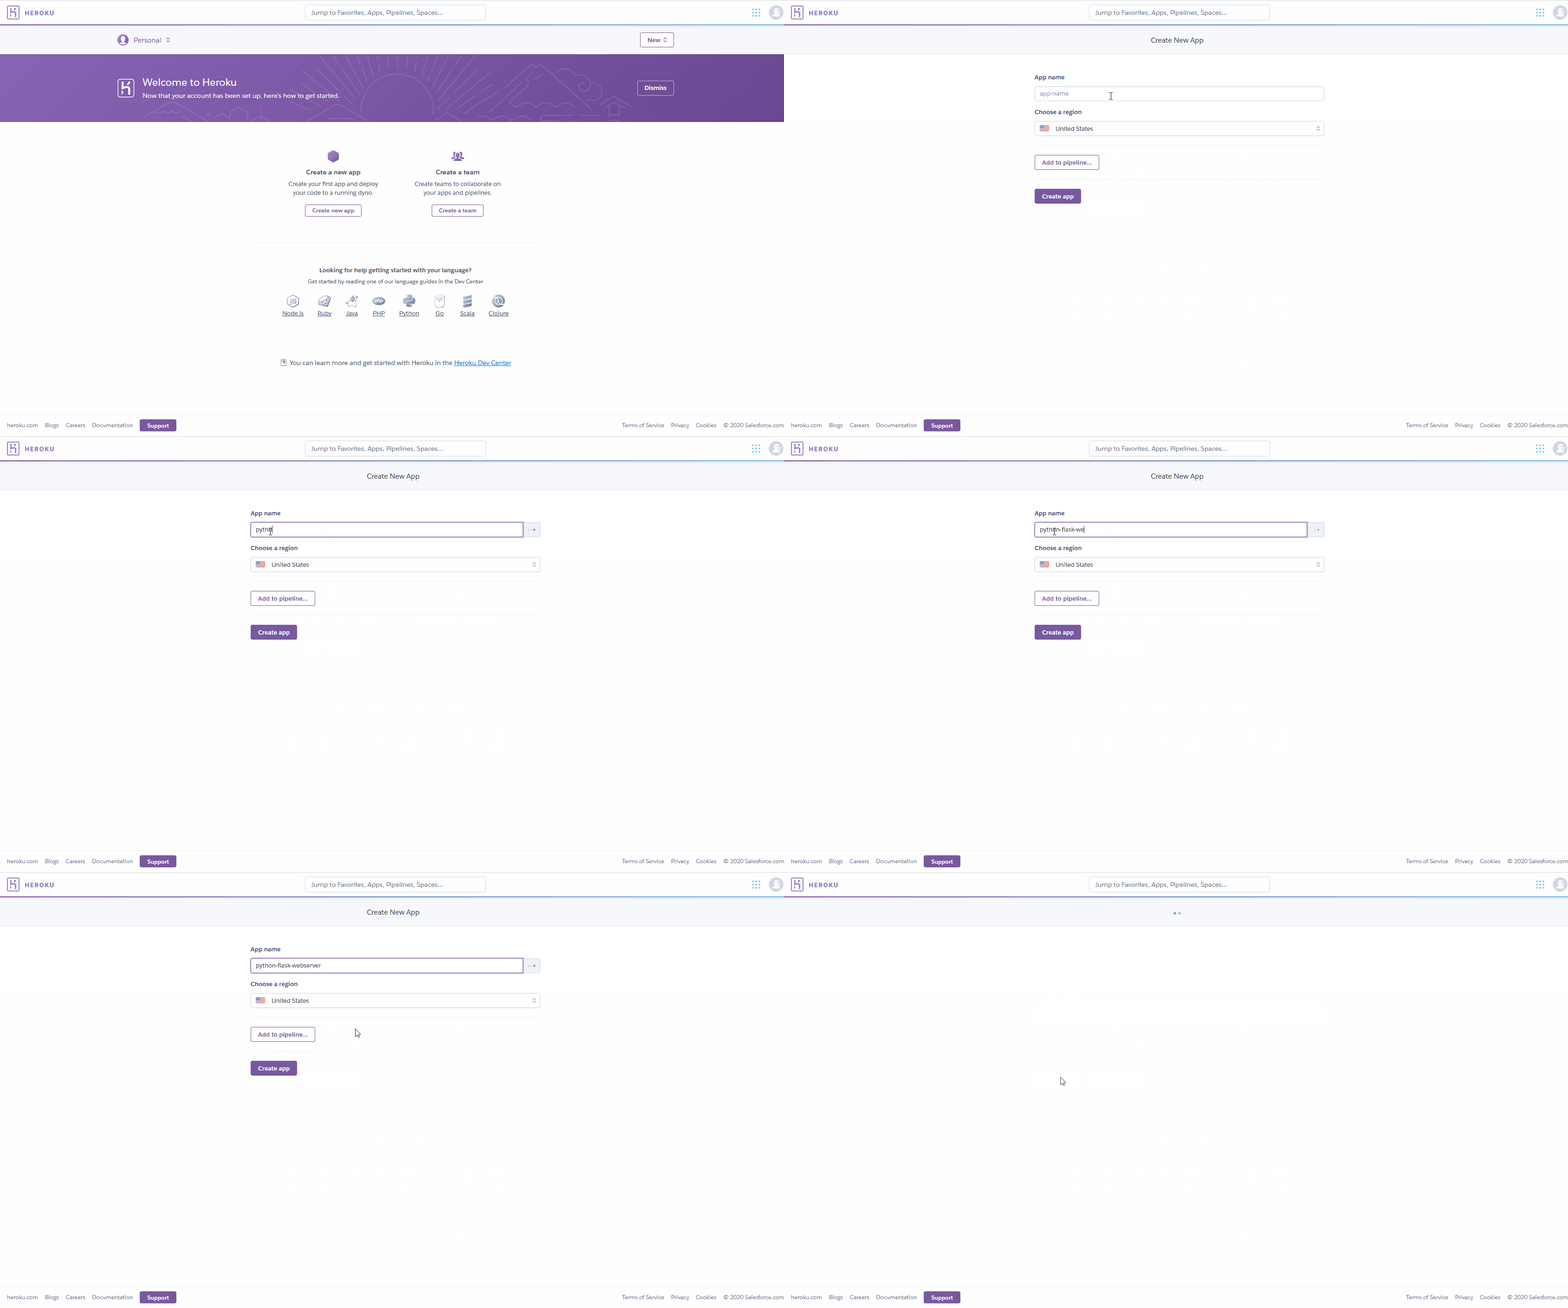
4. Connect Heroku Application to Github Account
- From the
Application Deploy Tab of Heroku, connect Heroku application to Github.
- Ensure that automatic deployments for each
push is enabled
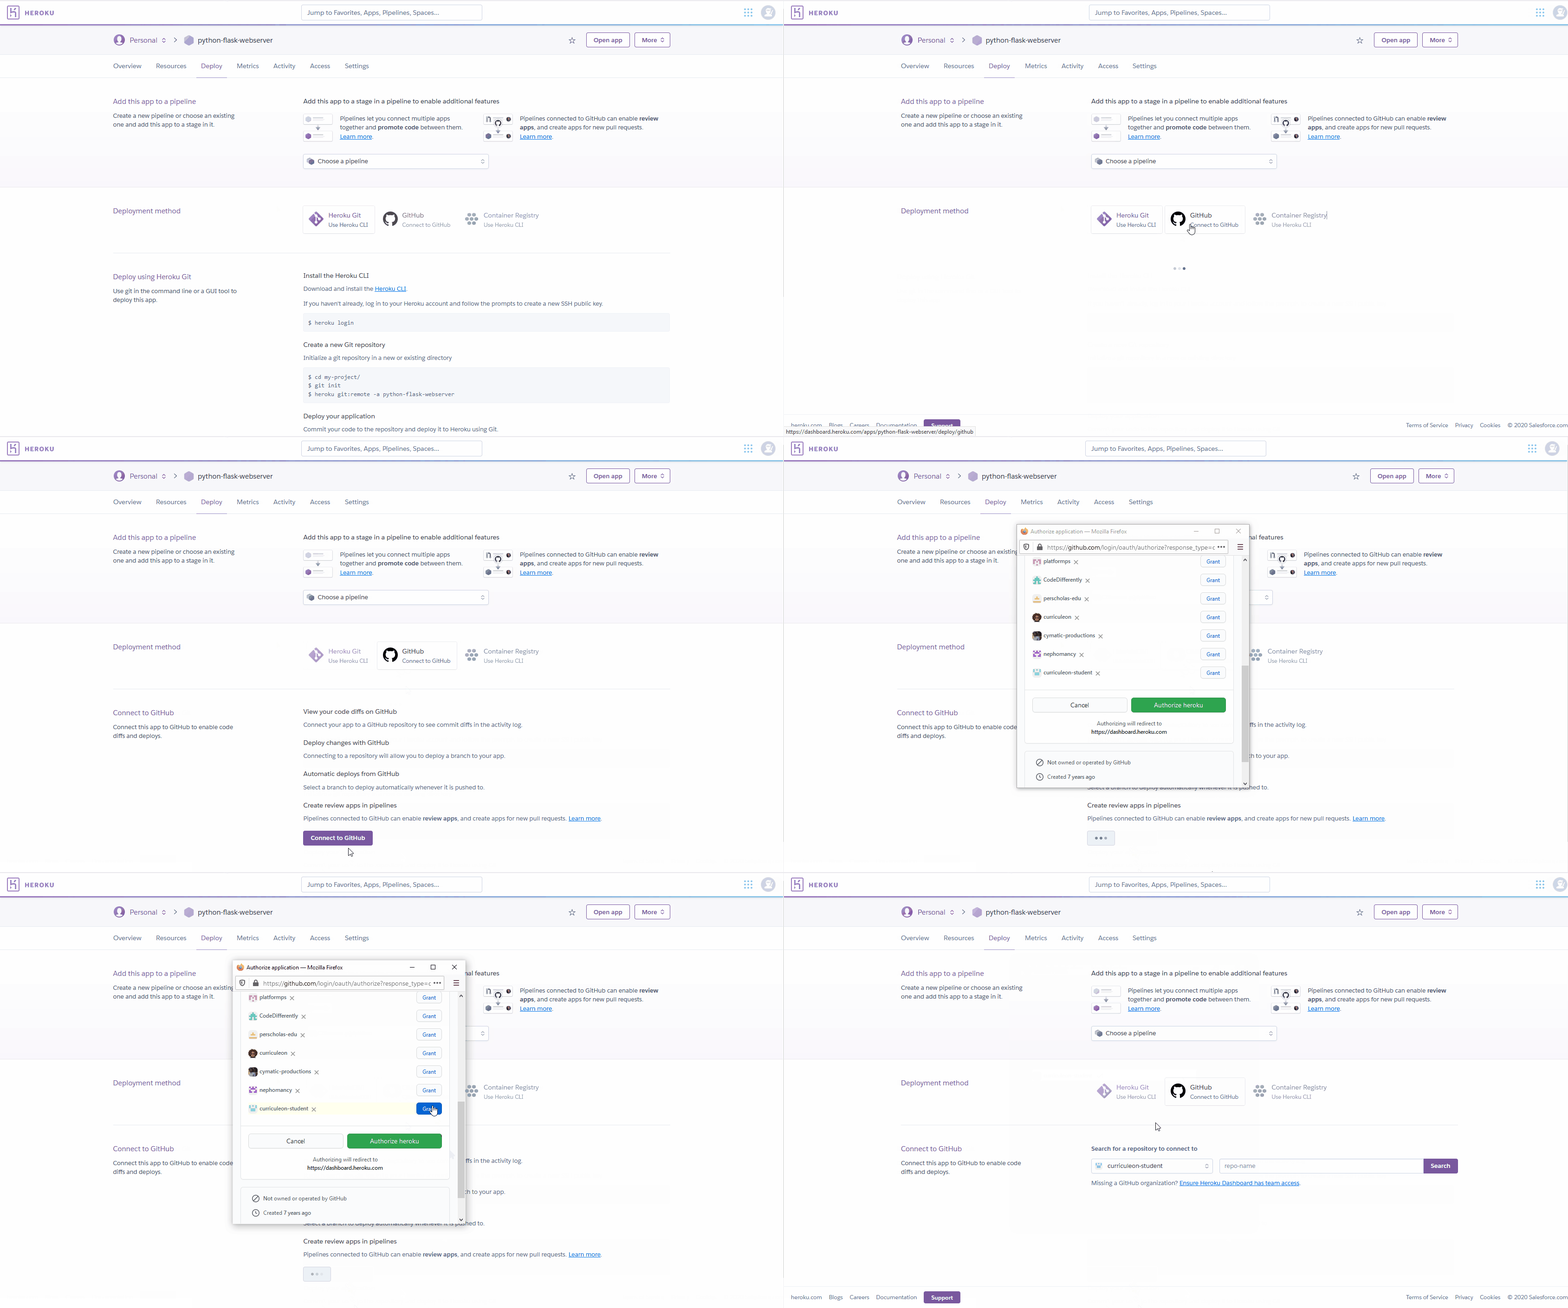
5. Connect Heroku Application to Github Repository
- Upon connecting to github, search for the newly forked repository.
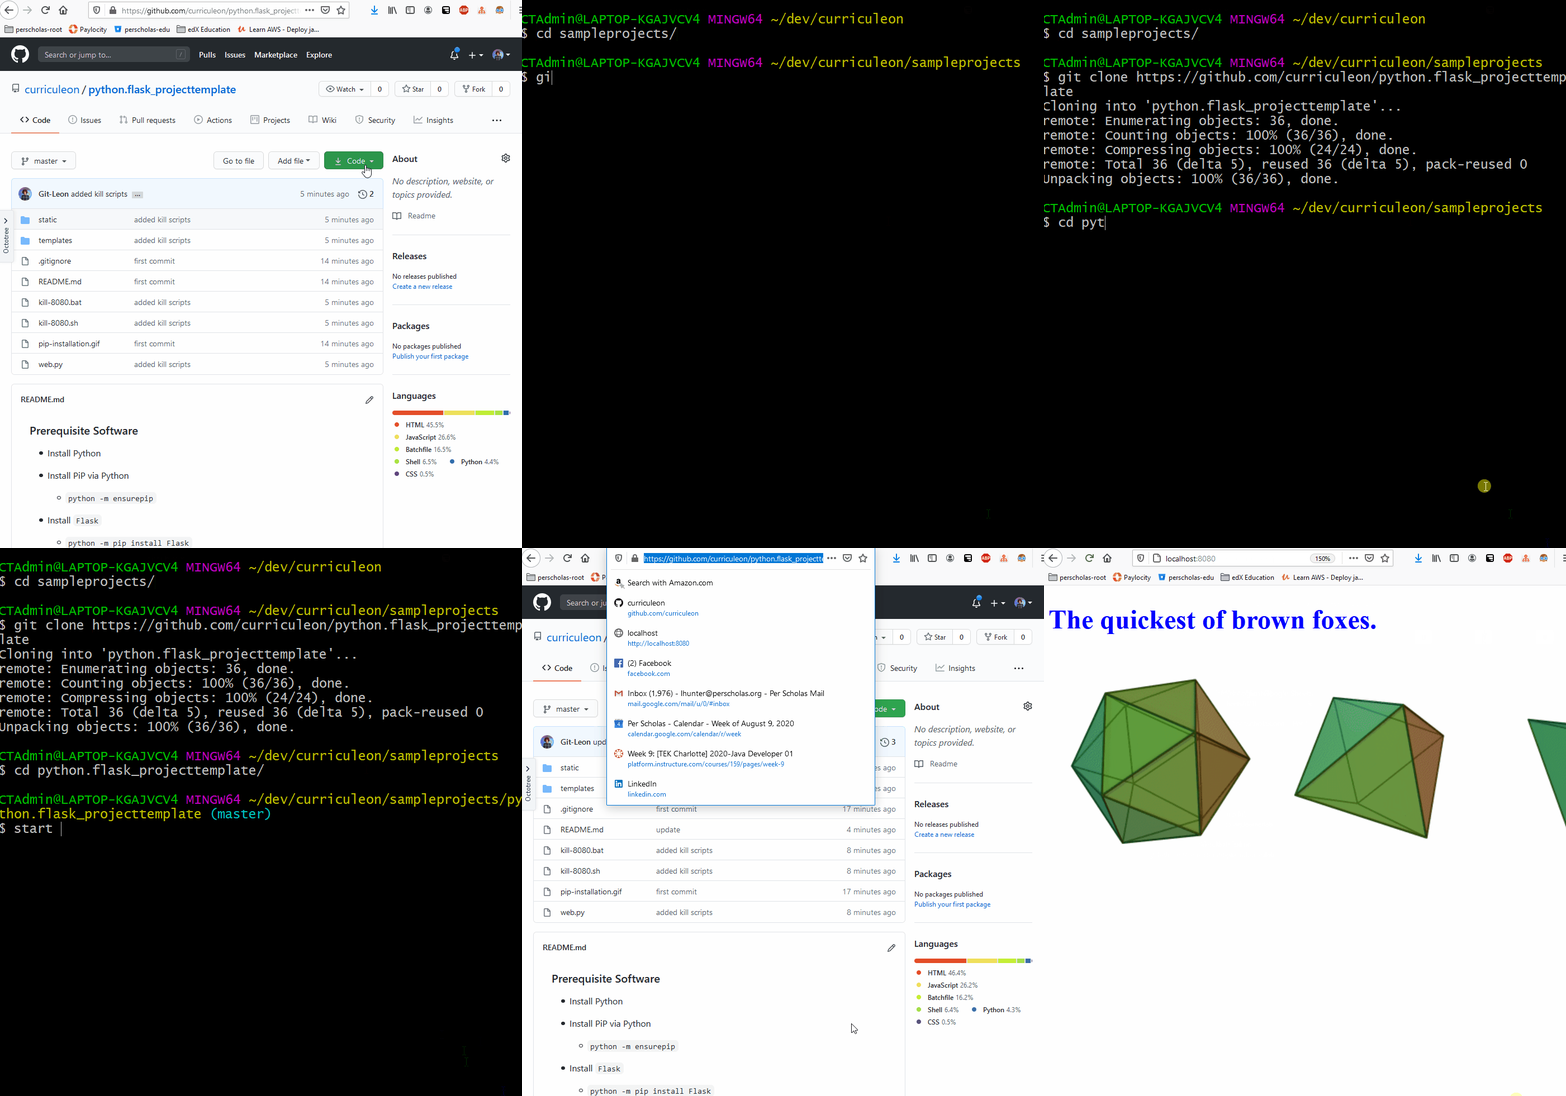
6. Clone The Forked Repository
- Navigate to your Github account to find the Forked Python Flask Webserver Repository
- Clone the repository onto your local machine
- Start the webserver by executing the command below from the root directory of the project
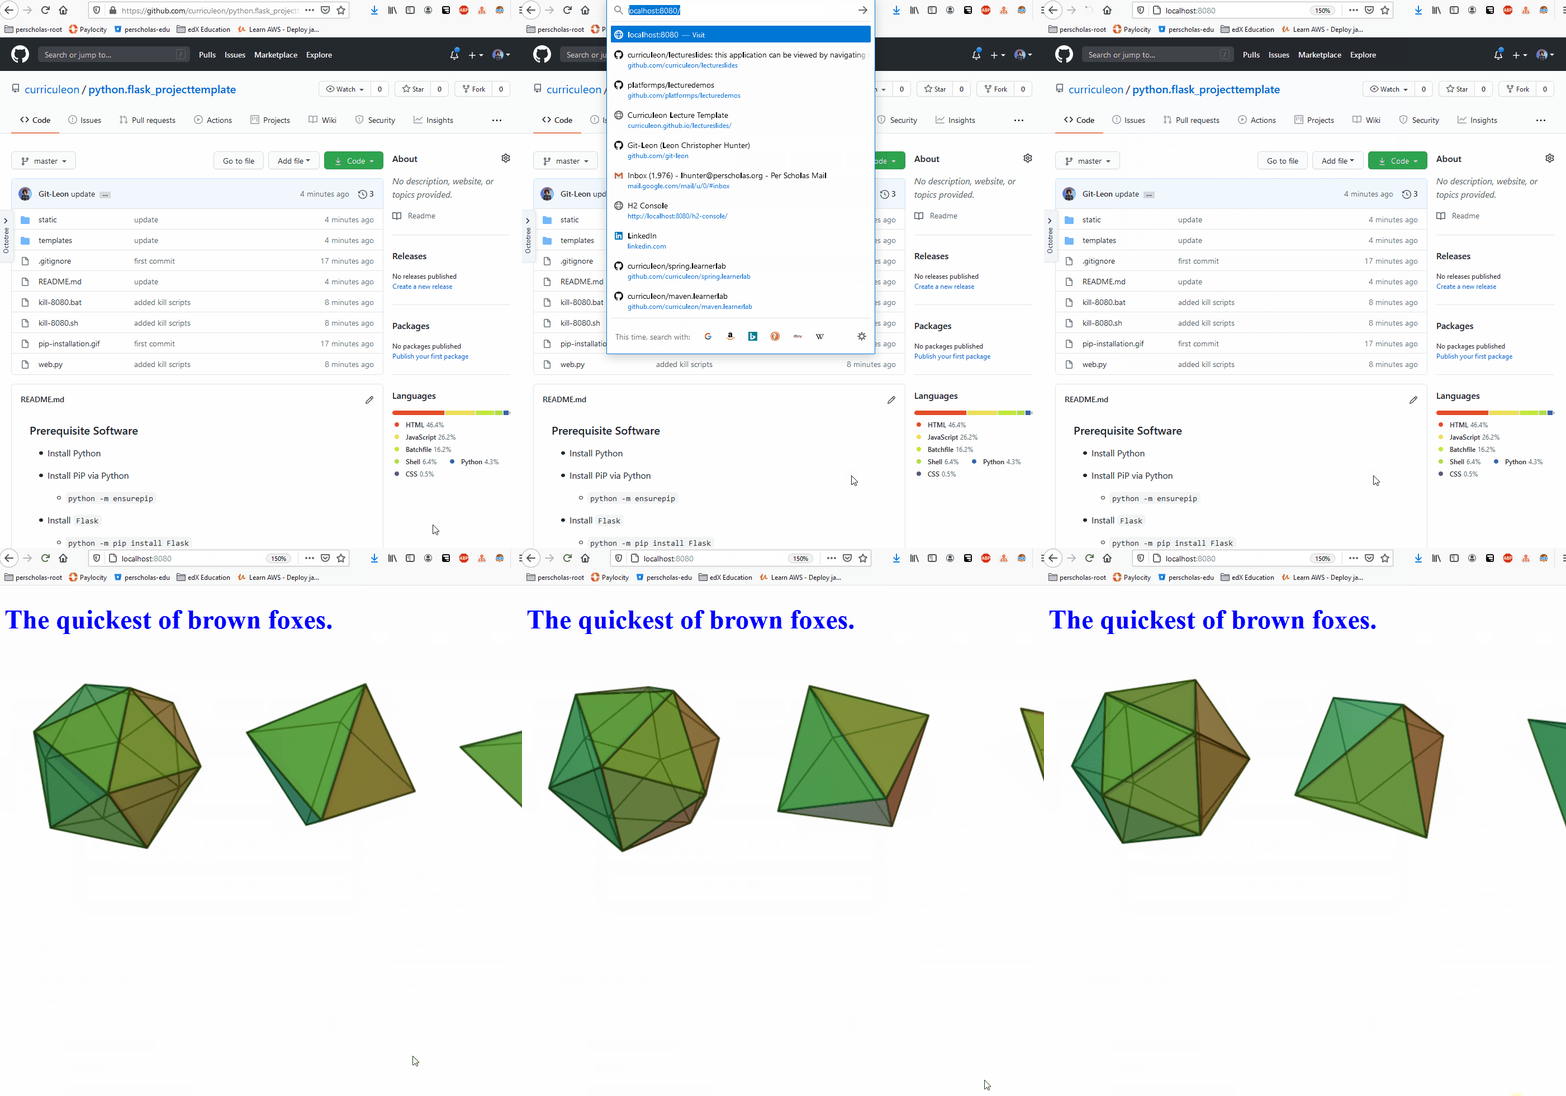
7. View the Application Locally
- Verify that the application builds correctly on your local machine by navigating to
localhost:8080 to view the static HTML that is served by the Python Flask Webserver
8. pip freeze and pipe dependencies to requirements.txt
- Execute
pip freeze > requirements.txt from the root directory of your local project to pipe the dependencies of the project to a requirements.txt file.
- This file will allow Heroku to fetch and configure the respective dependencies and run the application on the cloud
- Execute the command below to append the
unicorn requirement
echo gunicorn==19.9.0 >> requirements.txt
push these changes to your remote repository by executing the commands below from the root directory of your local project
git add .git commit -m "created 'requirements.txt'"git push
- Execute the command below in a terminal from the root directory of the locally cloned project to create a
Procfile
echo web: gunicorn ${name_of_main_python_module}:app > Procfile
- replace
${name_of_main_python_module} with the name of the main python module to be ran on the server
push these changes to your remote repository by executing the commands below from the root directory of your local project
git add .git commit -m "created 'Procfile'"git push
- view the live deployment from Heroku
10. View the Application Remotely
- From
https://dashboard.heroku.com/apps navigate to the application’s most recent build.
- At the bottom of the build log, copy and paste the URL that the application is hosted on.
