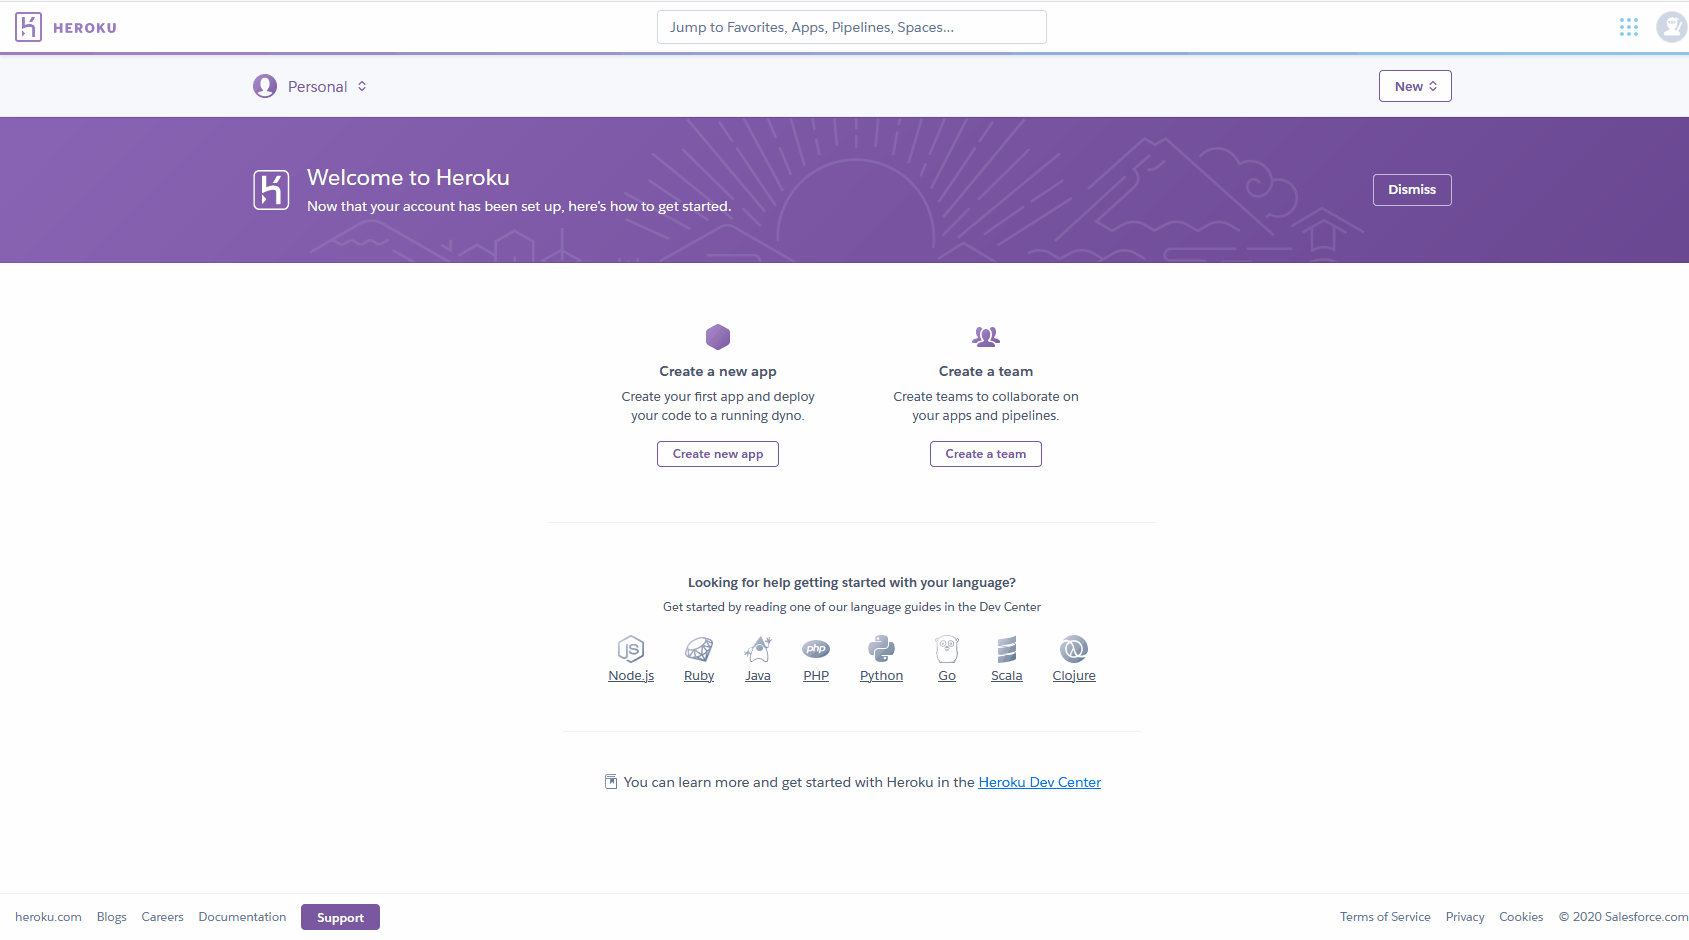
Create Heroku Account & Probe its Web Interface
1. Create Heroku Account

2. Create Heroku Application
- From the Heroku Welcome page, click
Create New Application
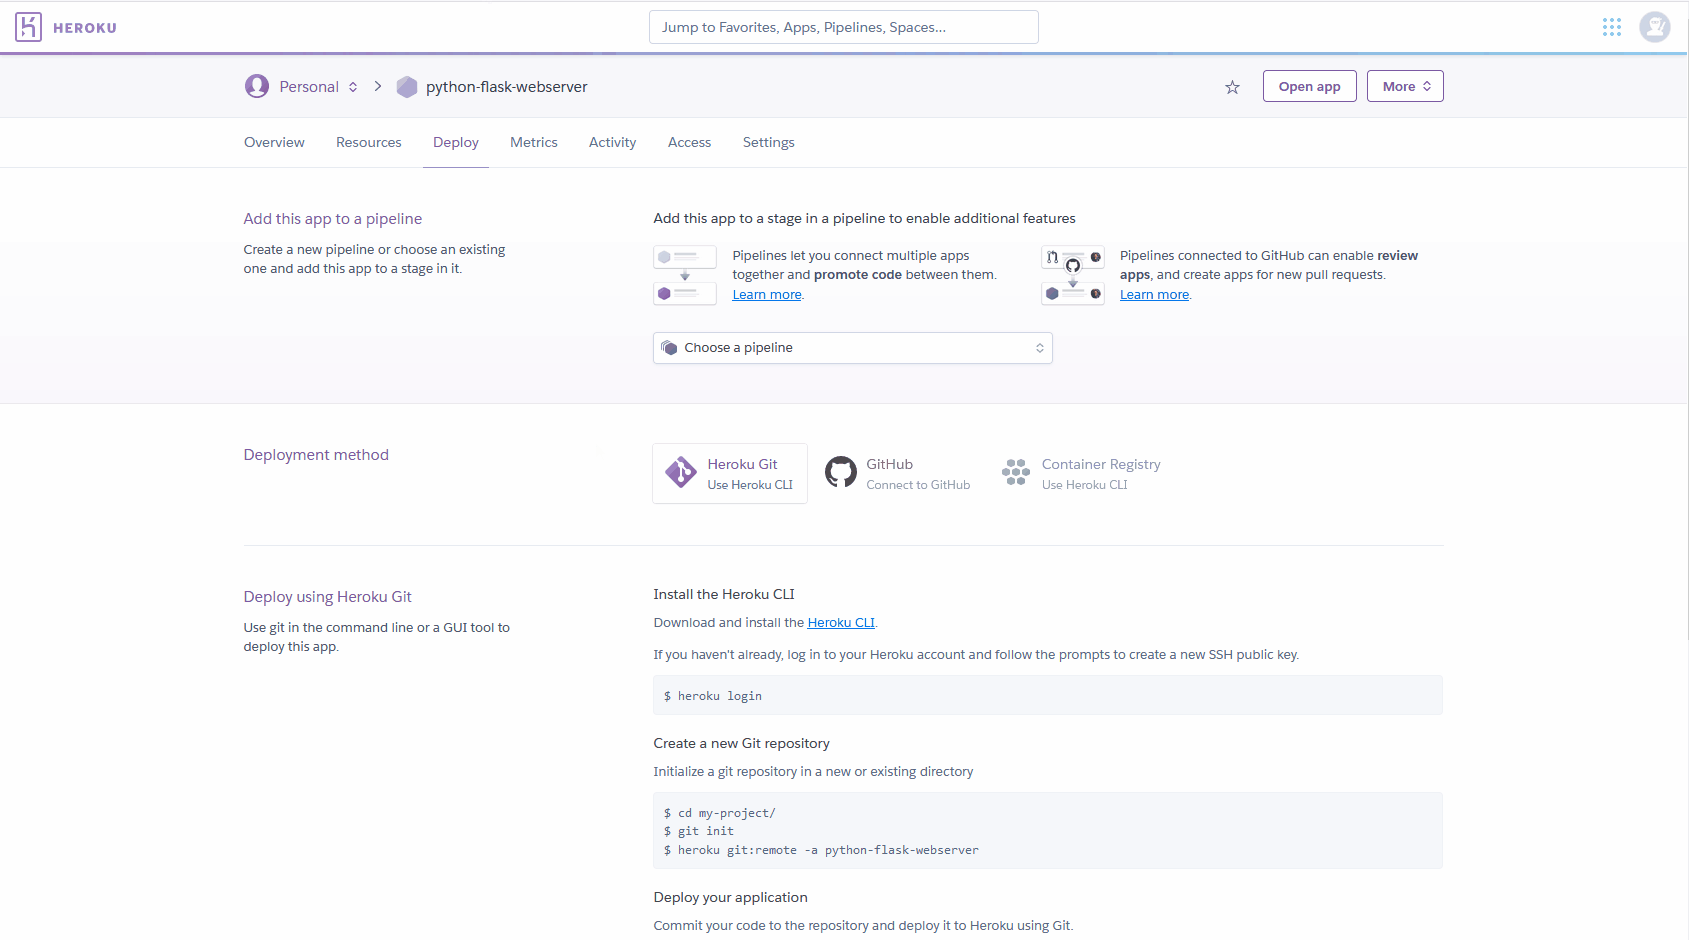
3. Connect Heroku Application to Github Account
- From the
Application Deploy Tab of Heroku, connect Heroku application to Github.
- Ensure that automatic deployments for each
push is enabled
4. Connect Heroku Application to Github Repository
- Upon connecting to github, search for a repository.
- Applications can be configured by
touching a file named Procfile to the root directory of the project.