AWS ECS Deploy Containerized Flask Application
- Click here to view troubleshooting for document
Overview
- Create an AWS Account
- Install and Configure AWS CLI
- Install Docker
- Create or clone flask application with a
Dockerfile - Create Docker Image from
Dockerfile - Run and View Docker Image Locally
- Create Repository in ECS Registry
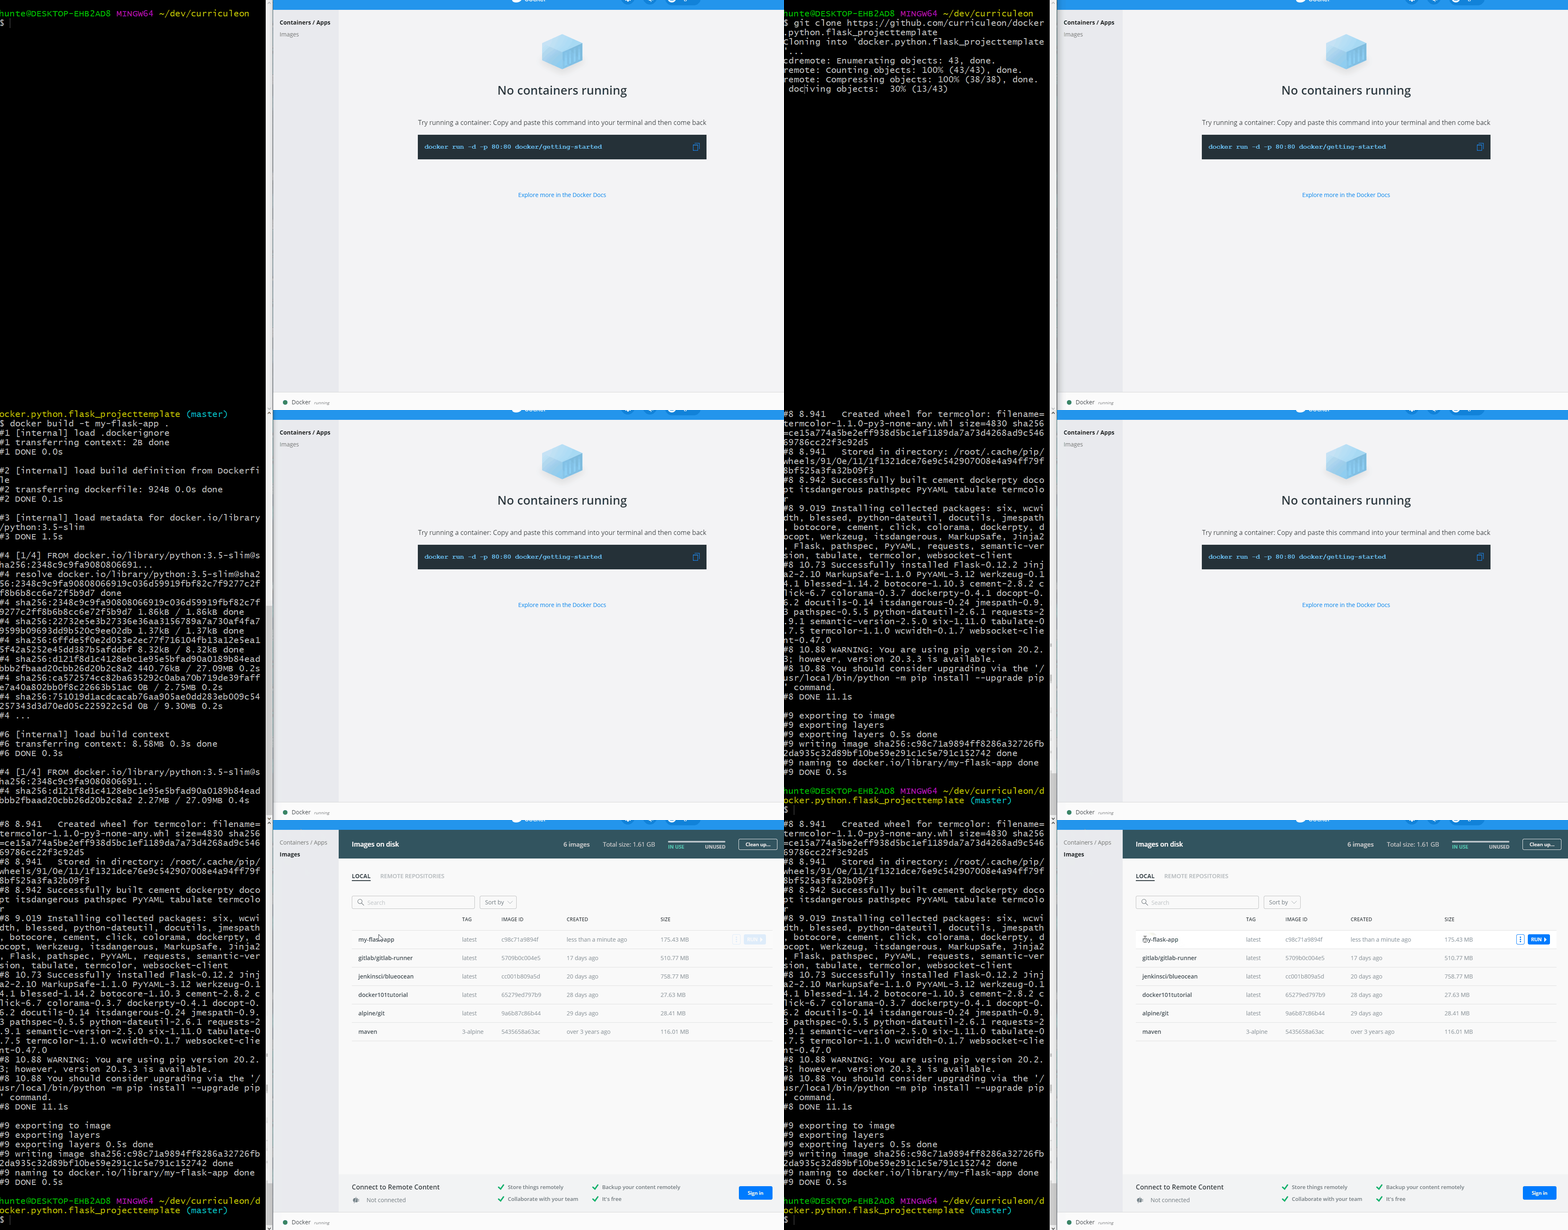
Create Docker Image from Dockerfile
- Execute the command below from the root directory of the newly created project
Dockerfiledocker build -t my-flask-app .
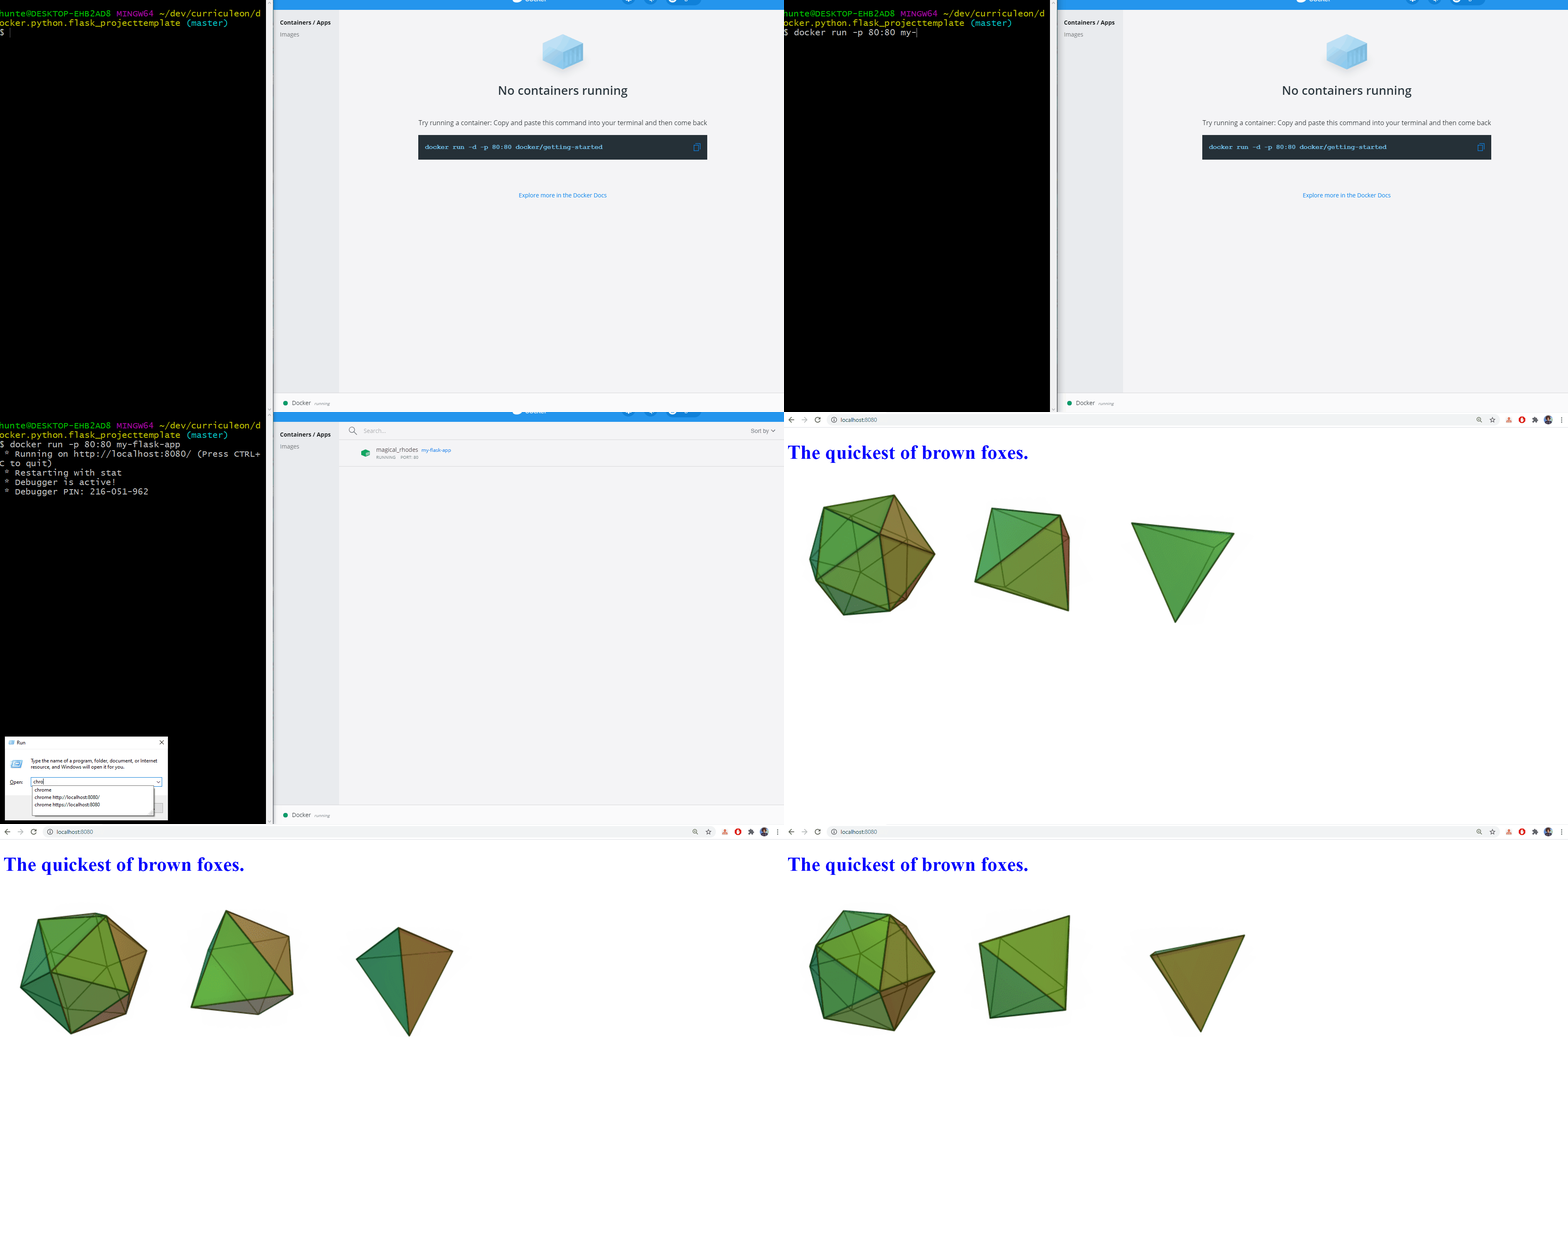
Run Docker Image
- Execute the command below from the root directory of the project
docker run -p 80:80 my-flask-app
- View the application by navigating the to the link below
Create Repository in Elastic Container Registry
Execute the command below to create a repository in the elastic container registry
aws ecr create-repository --repository-name my-flask-application-01.06.2021
Authenticate with newly created ECR repo
- Execute the command below to print a command used to log into the newly created ECR repository.
aws ecr get-login --region us-east-1 --no-include-email
- Copy the output of that command.
- Paste and run the output in the terminal.
- This will actually authenticate you with the ECR so you can push your Docker image into it.
Push to newly authenticated repo
- Execute the commands below to
tagandpushthe image to the AWS ECR (whereACCT_IDis your own AWS account ID)- Execute command below to tag image
docker tag my-flask-app:latest ACCT_ID.dkr.ecr.us-east-1.amazonaws.com/
- Execute command below to push image up to AWS ECR
docker push ACCT_ID.dkr.ecr.us-east-1.amazonaws.com/hello-world
- Execute command below to tag image

